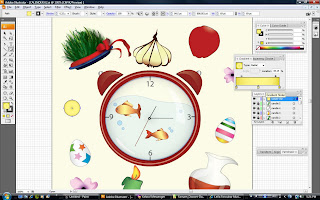
First of all, I started to work on my clock.I used ellips tool and draw a circle and made the stroke in red color.Then I chose Effect->3D->extrude and bevel and just set the shape and clicked ok.Then I draw a bluse circle inside the red circle smaller than the first on.Now again I draw a gray circle smaller than the blue one.each of them should be in different layers.
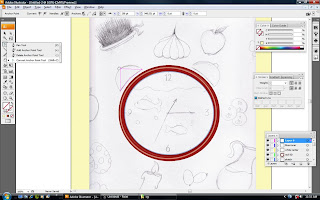
Now with the PEN TOOL (p),I made the triangle and then I reshaped it by CONVER ANCHOR POINT TOOL.I fiiled the shape by red GRADIENT color then I duplicate its layer and filled the copy one with darker red about to black.I put the copy layer under the origional one and moved it.After these i chose the origional red color layer and pressed Ctrl+C+F to paste a copy of it in front with the same gradient,then with DIRECT SELECTION TOOL(A), I reshaped it and chenged the opacity of it.
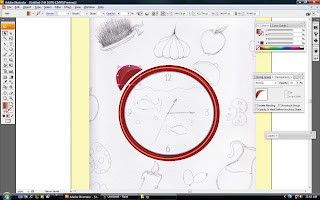
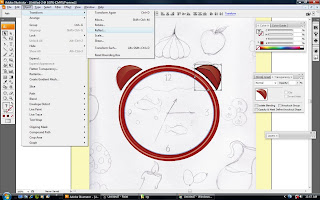
I selected all parts of the left part and pressed Ctrl+C+f then Object->Transform->Reflect. So,I hade the same shape for the right part.But just I arranged it.After that I draw again a triangle and filled it with the white to gray gradient and reshaped it byDIRECT SELECTION TOOl.I did the same for this part to make it well to the right.
I continued by working on goldfish.I just worked with PEN TOOL and draw the fish the same as the sketch.Then I pressed Ctrl+C+F.Just worked with DIRECT SELECTION TOOL and reshaped it to my appropriate point.I filled it with the GRADIENt of orange,yellow and redish orange colors.Then i chose the first shape and filled it with the same gradient but I made some colors darker.I draw the tail and other parts of it the same as former steps. 
I chose the gary circle I made before and fill it with the gray to white gradient.I made it radial and changed the opacity.I draw some other shape on the glass with the same gradient but lower opacity.
For the plate,I made an oval shape ,same as before,Ctrl+C+F,.I reshaped the second one and made a duplicate layer and made it behind the origional shape.I just worked on colors.
For the grass, I just used BRUSH TOOL and I fill it with different green colors to make more real.next step was to chose ALL of the grasses and then Effect->stylize->drop shadow.The ribbon,I draw it by PEN TOOl,colored it with red color and then MESH TOOL to add some shadows.
I draw rest of the ribbon by PEN TOOL and filled with GRADIENT.For the Garlic, I draw it by a circle and reshaped it by DIRECT SELECTION TOOL the same as my sketch and then filled it with brown,yellow and white gradient of radial.But I just changed the type of its stroke.The top part is made by BRUSH TOOL.
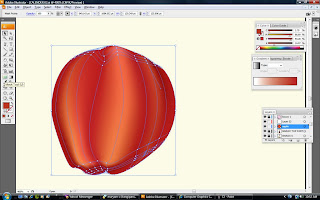
For the apple I filled the shape in red color after I had drawn it by PEN TOOl.Then I worked with MESH TOOL to make some shadows and lights for it.
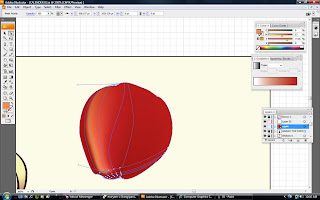
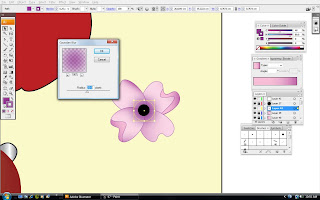
For the blooms,I draw each petals seprately and filled them bydark and light pink gradient and for the centre its just the purple circle witch is blure.
The process of making the pitcher and the vinegar in it is just the same as the tutorial we've learnt .i just changed the shape of it.


0 comments:
Post a Comment